How to Install Pallet Dawg
Installation Instructions.
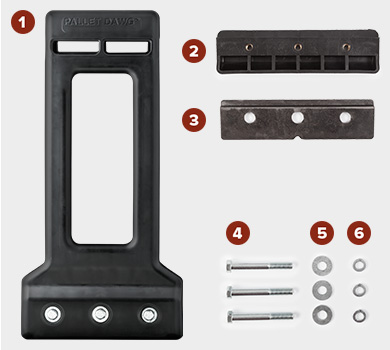
Enclosed Parts:1. Main body
2. Back piece with threaded inserts
3. Plate
4. Three bolts
5. Three flat washers
6. Three lock washers
Required Tools: 9/16" socket and ratchet.
Step 1
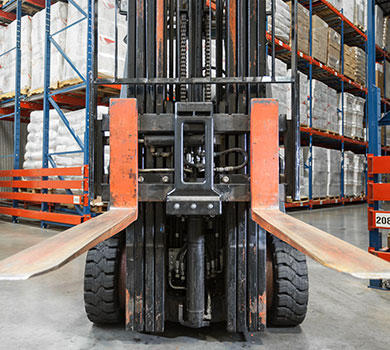
Before mounting the Pallet Dawg, thoroughly clean the channel on top of forklift carriage. To ensure proper seating and performance, align notch under top lip of main body with center notch of carriage.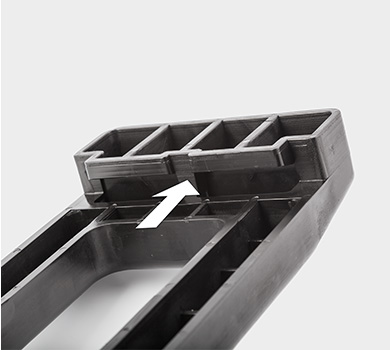
Step 2
Ensure that the Pallet Dawg is centered and hangs flush against carriage so it will not slide along top channel and bolt holes at base remain unobstructed.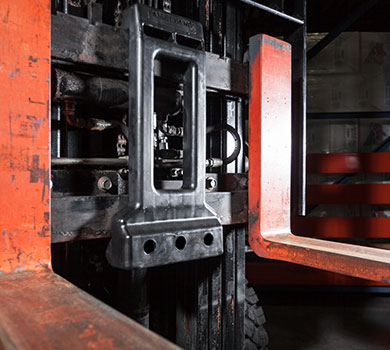
Step 3
Fit the back piece (Part #2) and plate (Part #3) together. Assemble washers on bolts (Part #4) as shown so lock washer (Part #6) is first followed by flat washer (Part #5).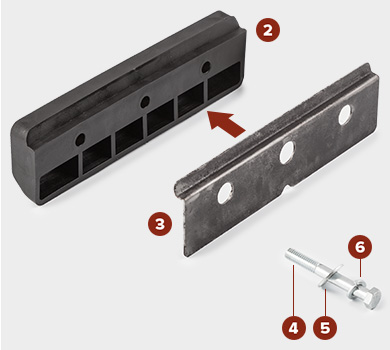
Step 4
Align back piece assembly with main body at base. Carefully thread bolt assembly through main body into back piece inserts.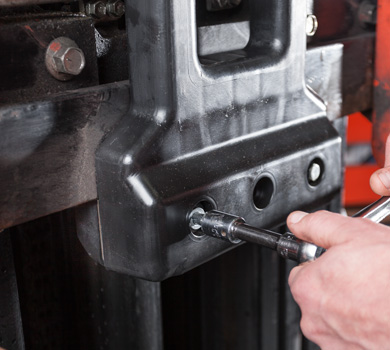
Step 5
Ratchet bolts until firmly positioned. Use a torque wrench to tighten bolts to 75 foot-pounds. Do not over-tighten!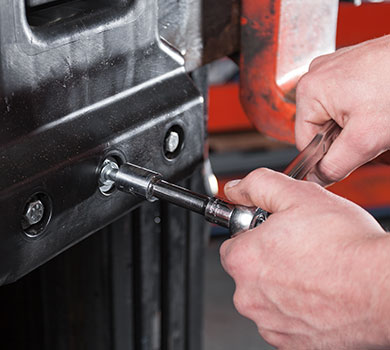
Step 6
Verify Pallet Dawg is secure and ready for use. Inspect regularly to ensure device is tight, intact, and does not slide along carriage.